$sudo apt-get update
2. Install the unetbootin package using
$sudo apt-get install unetbootin
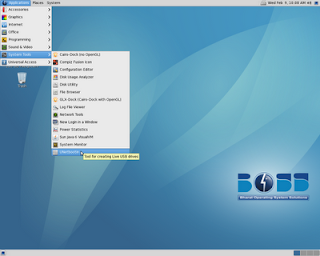
3. Now you have a new menu entry in
“Applications → System tools → UnetBootin”

4. Format the USB drive and then copy the BOSS linux's ISO image into it.
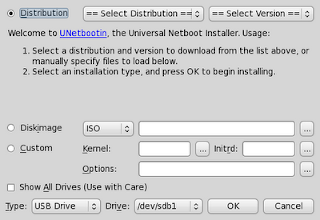
5. Open the GUI for creating the Installable USB drive
“Applications → System tools → UnetBootin”
now you will get the following GUI application

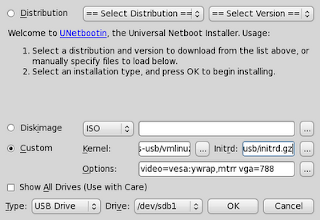
6. Select the custom option then browse and select the kernel (vmlinuz), initrd and paste “video=vesa:ywrap,mtrr vga=788” into the Options field

7. Now select Type as USB Drive, Drive as /dev/sdb(n) [n=1,2,3 as no.of usb drives inserted in the system] then click ok.
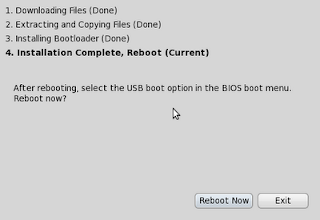
8. Click Exit. Thats all Installable USB is ready.

9. Now your USB drive has the following files.
1. ISO Image of BOSS linux (Copied manually by us)
2. ldlinux.sys
3. menu.c32
4. syslinux.cfg
5. ubninit
6. ubnkern
No comments:
Post a Comment